
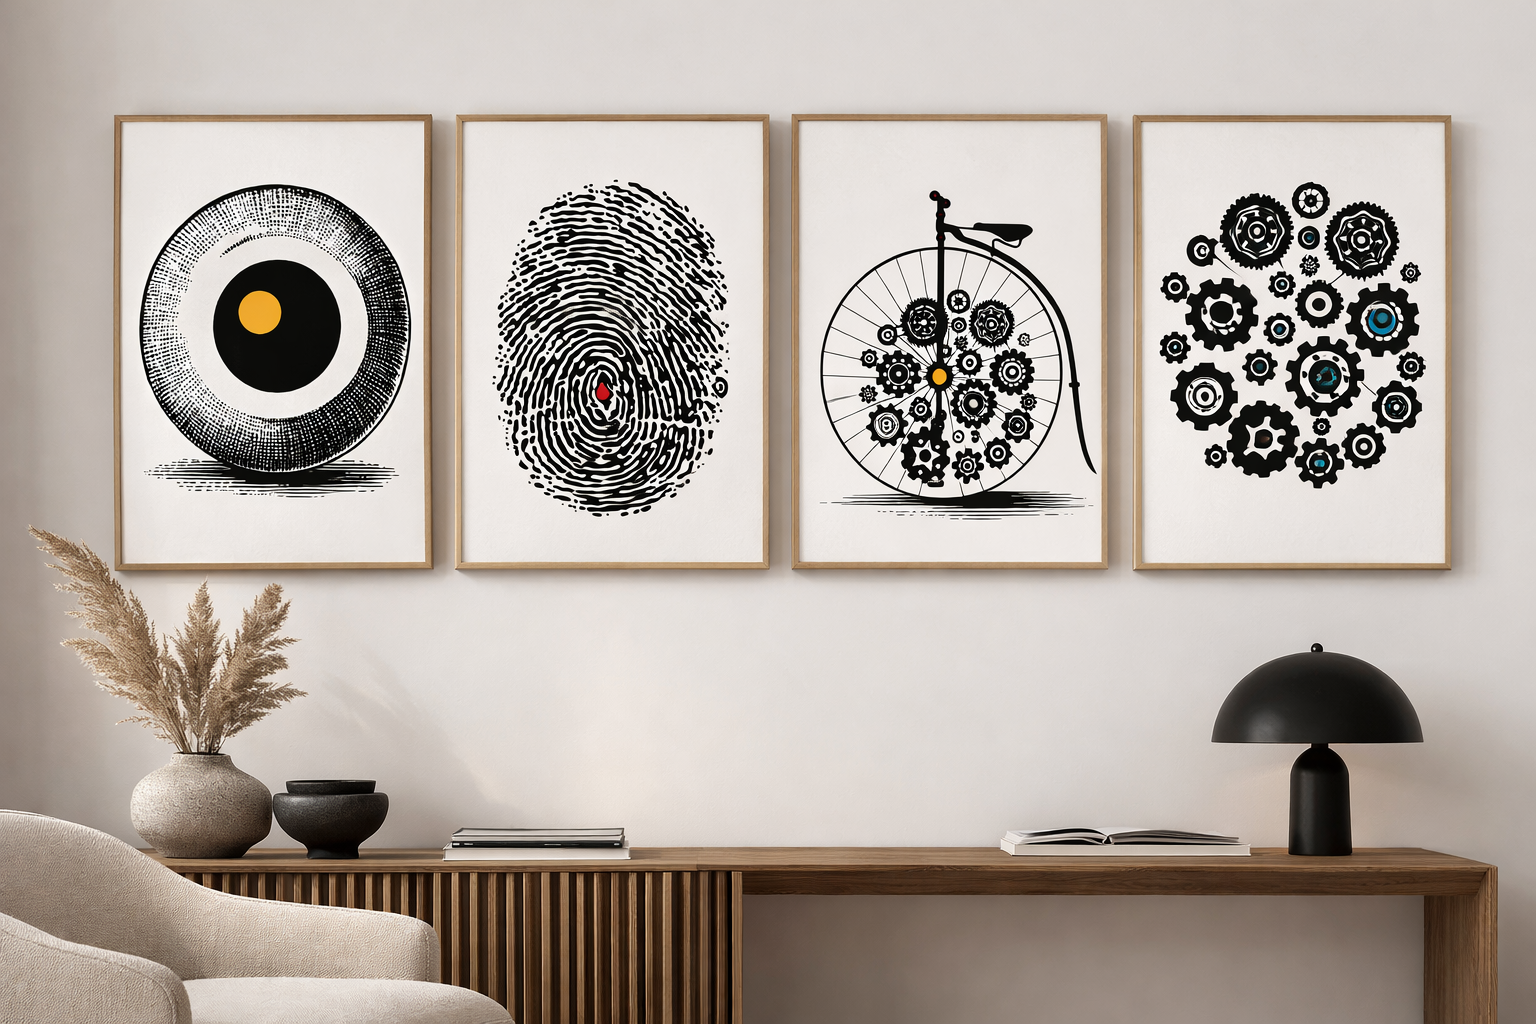
A gallery wall is one of the most satisfying home decor projects you can take on. It transforms a blank, forgettable wall into a curated expression of your taste, your memories, and your values. And unlike painting an accent wall or buying new furniture, a gallery wall is entirely flexible — you can add to it, rearrange it, and evolve it as your style changes.
The best gallery walls look effortless, as if they came together organically over time. But that effortless look is usually the result of careful planning. In this guide, we’ll walk you through every step, from choosing your art to hammering the final nail.
Step 1: Choose Your Wall
Not every wall is a good candidate. The ideal gallery wall is in a space you pass through or spend time in regularly — a living room, hallway, staircase, or home office. Avoid walls that are mostly hidden by furniture or that receive harsh direct sunlight (which fades prints over time).
Measure your available wall space and note any obstacles: light switches, vents, shelves, or doorframes. You’ll need at least 90 cm x 90 cm of clear wall to create a gallery that feels intentional rather than cramped.
Step 2: Pick a Theme or Colour Palette
The most cohesive gallery walls have a unifying thread. This can be a colour palette (all black and white, all earth tones), a theme (travel, family, quotes), or a frame style (all matching black frames, all natural wood). You don’t need all three — one consistent element is enough to make the collection feel curated.
For a minimalist approach, consider building your gallery wall primarily with quote posters. A collection from a single brand like MonoQuote ensures visual consistency in typography and design style, making the arrangement look cohesive from the start. Mix in one or two complementary pieces — a line drawing, a small photograph, or an abstract print — to add variety without breaking the aesthetic.
Step 3: Select Your Pieces (The Right Mix)
A strong gallery wall needs variety in size and orientation. A good starting formula:
- 1–2 larger pieces (A2 or larger) as focal points
- 3–4 medium pieces (A3) to form the core
- 2–3 smaller pieces (A4 or A5) as accents
- Ideally a mix of landscape and portrait orientations
For a gallery wall built around quote posters, choose quotes with different lengths and typographic styles. A bold, short quote (“Begin.”) contrasts beautifully with a longer, more contemplative message. Our guide to minimalist quote posterscan help you choose the right quotes for each room.
Step 4: Choose Your Layout
There are three main gallery wall layouts, each creating a different visual effect.
The Grid
All frames are the same size and arranged in a precise, evenly-spaced grid. This is the cleanest, most modern option and works beautifully with minimalist quote posters. It requires exact measurements but looks stunning when executed well. Best for: living rooms, home offices, hallways.
The Organic Cluster
Frames of different sizes are arranged in an organic, seemingly spontaneous layout. This feels more casual and eclectic. The trick is to maintain consistent spacing (5–8 cm between frames) and to start from the centre, working outward. Best for: living rooms, stairways, creative spaces.
The Horizontal Line
All frames are aligned along a single horizontal centre line, with their midpoints at the same height. Frames can vary in size but share a visual axis. This is the easiest layout for beginners and works well in narrow spaces like hallways. Best for: hallways, above sofas, above beds.
Step 5: Plan Before You Hang
This step saves countless nail holes. Lay all your framed pieces on the floor and arrange them until you’re happy with the composition. Then, trace each frame onto newspaper or craft paper, cut out the shapes, and tape them to the wall. Step back and evaluate. Adjust until it feels right.
A digital alternative: take a photo of your blank wall and use a free tool like Canva to overlay rectangles representing your frames. This lets you experiment with layouts without any tape.
Step 6: Hanging Techniques
Start with the largest or central piece and work outward. Use a spirit level for straight lines and measure spacing consistently. For rental-friendly hanging, command strips (rated for the frame weight) are excellent. For heavier frames on plaster or brick, use proper wall anchors.
Pro tip: hang the centre of your gallery wall at 145–150 cm from the floor. This is the average “museum height” and ensures the display feels natural whether you’re standing or seated.
Step 7: The Finishing Touches
Once everything is hung, add small complementary elements if you wish: a wall-mounted plant, a small sconce light, or even a tiny floating shelf with a candle. These additions make the gallery wall feel like an intentional installation rather than just a collection of frames.
Consider lighting. A picture light or a directional lamp that washes light across your gallery wall in the evening creates dramatic visual impact. Natural light during the day, warm artificial light at night — your gallery wall will look its best.

Common Gallery Wall Mistakes to Avoid
Hanging too high: The most common mistake. Always use the 145–150 cm centre rule, not “above eye level.”
Inconsistent spacing: Whether you choose 5 cm or 8 cm gaps, keep it consistent across the entire arrangement.
Ignoring the room’s style: A rustic wood-framed gallery looks out of place in a modern minimalist room. Match your gallery wall to your existing decor.
Too many styles at once: Mixing photography, text posters, watercolours, and pop art can look chaotic. Choose 2–3 complementary styles maximum.
Starting without a plan: Resist the urge to start hammering. The paper template method (Step 5) takes 20 minutes and saves hours of frustration.
Ready to start your gallery wall? Browse the minimalist quote poster collection at MonoQuote for pieces that work beautifully together. And for more room-by-room inspiration, explore our article on motivational wall art ideas for your home office.
Frequently Asked Questions
How many frames do I need for a gallery wall?
A minimum of 4–5 pieces creates a true gallery feel. For large walls, 7–12 pieces works well. The key is filling the space without overcrowding.
Can I create a gallery wall in a rented apartment?
Yes. Command strips, adhesive hooks, and washi tape rails all provide nail-free options. Many brands now make strips rated for heavier frames.
Should all my gallery wall frames match?
Matching frames create a clean, cohesive look. Mixed frames feel more eclectic and personal. Both approaches work — it depends on your style.
How do I add to a gallery wall over time?Leave a few intentional gaps in your initial layout, or plan for expansion in one direction. A gallery wall that grows over time feels organic and tells the story of your evolving taste

Manuale Creativo per Fotografi Ribelli
40 idee per riscattare il tuo sguardo fotografico. Un libro di Massimo Usai per chi vuole guardare il mondo con occhi nuovi.
Acquista su Amazon In qualità di Affiliato Amazon ricevo un guadagno dagli acquisti idonei.Scopri di più da
Abbonati per ricevere gli ultimi articoli inviati alla tua e-mail.


